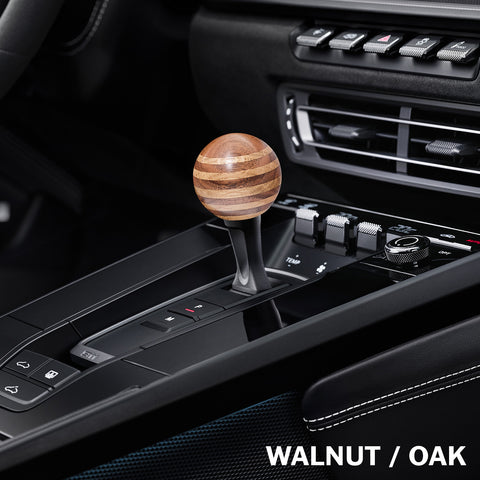
How to Install the IX XI Tribute Shifter on Your Porsche 992 PDK

Unboxing the IX XI 992 PDK Shifter
Inside the box you will find next to the shifter the essentials:
- Custom 3mm Allen key – Specifically 50mm in length.
- Bit-to-ratchet adapter – If you don’t own a small bit ratchet, this lets you convert any 10mm ratchet wrench or open-end wrench into the tool you need to access the set screw with ease.
These tools are purpose-built for this job. You’ll also need a few things from your own kit (see below).
Step 1: Prep and Tools
Before diving in, gather the following:
- T25 Torx screwdriver or bit
- Trim lifting tool or soft wrapping squeegee
- Bit ratchet (recommended)
- Suction tool (recommended)
Step 2: Trim Removal
- Use your trim tool and (optional) suction cup to carefully lift the left and right trim panels.
- Make sure you retain the rubber grommets and metal clips – they’ll be reused.
- Remove the two T25 Torx screws under the climate control unit.
- If it’s cold, gently warm the trim with a safe heat source (warm to touch = safe for plastics).
- Carefully remove the thin plastic trim. It’s the most fragile piece in the interior – take your time.
Step 3: Removing the OEM Shifter
- Gently lift the climate control unit it pops out and unplugs easily.
- Use your phone’s front-facing camera to locate the set screw inside the shifter mechanism.
Important: To access and remove the set screw, you’ll need to hold the selector lever in the Reverse position while unscrewing. This is the only way to reach the fastener securing the OEM shifter.
⚠️ Do not fully remove the screw – just loosen it enough to lift the shifter off. If it drops, it may fall into the transmission tunnel and become difficult to retrieve.
- Insert the included 3mm Allen key from the top while holding the lever in place.
- Connect the bit ratchet using the supplied adapter.
- Loosen the set screw carefully.
Once loose, pull the factory shifter straight up and out.
Step 4: Installing the IX XI Shifter
- Slide the new IX XI shifter into place over the selector shaft.
- Begin tightening the set screw using your fingers first, then your ratchet.
- Check the shifter’s movement – if it’s free to move, continue tightening 2–3 more firm turns.
- Confirm smooth travel in all shift positions. It should feel solid and responsive.
Step 5: Reassembly
- Reconnect the climate control unit and plug in the wiring.
- Reinstall the two T25 screws (snug, not over-tight).
- Click the thin plastic trim piece back into place.
- Snap the left and right trim panels back on – ensure all clips are properly seated.
That’s it: you’re done!
Final Checks & First Drive
✅ Check that the shifter moves smoothly through all positions.
✅ Make sure all trim panels and the climate unit are securely back in place.
Now take the car out for a proper drive and feel the difference. The new shifter doesn’t just look better – it transforms the experience.